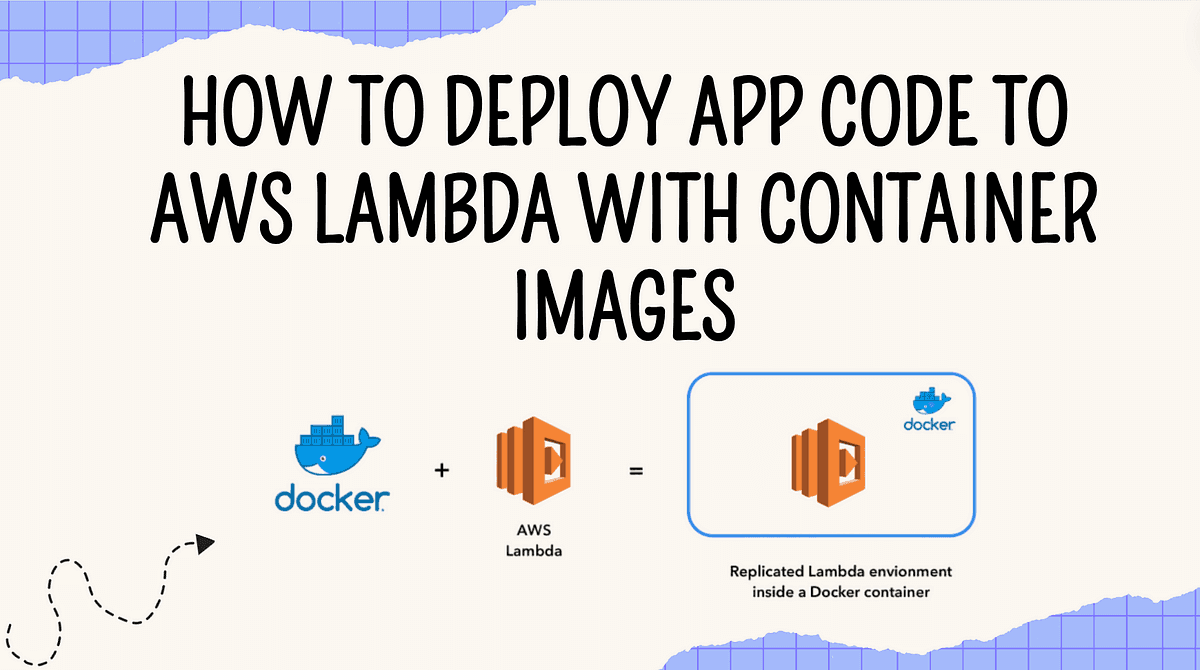
How to Package and Deploy a Lambda Function as a Container Image
Content
Go beyond built-in runtimes
ℹ️ Overview
AWS Lambda allows you to run your code inside Docker containers! This feature opens up a lot of possibilities. You can use any programming language or framework by packaging it into a container image.
There are no limitations from Lambda's built-in runtimes. Deploying Lambda functions also becomes much easier.
Instead of zipping up code and dependencies, we can build a Docker image with everything our function needs. Just push the image to Amazon's container registry and configure Lambda to use it.
In this blog post, we'll show you how to create a Lambda function that runs in a Docker container.
Amazon ECR:
Amazon Elastic Container Registry (ECR) is a fully managed container registry provided by AWS. It allows you to store, manage, and deploy container images securely.
Key points about ECR:
- 🛠️ Eliminates the need to operate your own container repository.
- 🔗 Integrates natively with other AWS services like ECS, EKS, and Lambda.
- 🚀 Provides high-performance hosting for your images.
- 🔒 Automatically encrypts images at rest and transfers them over HTTPS.
- 📝 Offers resource-based permissions and lifecycle policies for images.
Using ECR with AWS Lambda
Traditionally, you deployed Lambda functions by uploading a ZIP file containing your code and dependencies. However, AWS now allows you to package your Lambda function code as a container image and deploy it from ECR.
The main benefits of using container images for Lambda functions include:
- 🌐 Use any programming language, framework, or base image by customizing the container.
- 📦 Larger deployment packages up to 10GB compared to 50MB zipped archives.
- 🛠️ Easier dependency management and code organization within the container.
- 🔄 Consistent build and deployment process across different environments.
To use a container image for your Lambda function, you first build and push the Docker image to an ECR repository. Then, you create the Lambda function and specify the ECR image URI as the deployment package.

Hands-On Walkthrough
To show how this works in practice, this walkthrough uses an environment with the AWS CLI, Python, and Docker installed.
Create a Dockerfile file and paste the following code:
FROM amazon/aws-lambda-python:3.10

COPY app.py ./

CMD ["app.handler"]
Create app.py as lambda handler:
import sys
def handler(event, context):
    return 'Hello from AWS Lambda using Python container image' + sys.version + '!'
Next, run the following command in the console to authenticate to the ECR registry. Replace with the account ID of the AWS account you are using and with the code of the region you are using.
aws ecr get-login-password --region <Region> | docker login --username AWS --password-stdin <Account-ID>.dkr.ecr.<Region>.amazonaws.comCreate a new repository in ECR and push the Docker image to the repo.
aws ecr create-repository --repository-name demo-lambda --image-scanning-configuration scanOnPush=trueAfter that, run the following command to create the container image:
docker build -t demo-lambda .Then, run the following commands to tag and push the image:
docker tag get-customer:latest <Account-ID>.dkr.ecr.<Region>.amazonaws.com/get-customer:latest

docker push <Account-ID>.dkr.ecr.<Region>.amazonaws.com/get-customer:latest
Next step is to create the Lambda function:
aws lambda create-function \
    --function-name demo-lambda \
    --package-type Image \
    --code ImageUri=<Account-ID>.dkr.ecr.<Region>.amazonaws.com/demo-lambda:latest \
    --role arn:aws:iam::<Account-ID>:role/execution_role \
    --region <Region> \
    --timeout 15 \
    --memory-size 512 \
--description "A Lambda function created using a container image."--function-name: The name you want to assign to your Lambda function (demo-lambda).--package-type Image: Specifies that the deployment package is a container image.--code ImageUri=...: The URI of the container image in ECR.--role: The ARN of the IAM role that Lambda assumes when it executes your function. Ensure this role has the necessary permissions.--region: The AWS region where you want to create the Lambda function.--timeout: The maximum execution time in seconds for the function.--memory-size: The amount of memory available to the function at runtime.--description: A description of the function.
Make sure to replace placeholders like with your actual values.
After, you can invoke the container image as a Lambda function:
aws lambda invoke --function-name demo-lambda --region <Region> outfile
{
    "StatusCode": 200,
    "ExecutedVersion": "$LATEST"
}
cat outfile
"Hello from AWS Lambda using Python3.10.2 (default, June 01 2024, 09:22:02) \n[GCC 8.3.0]!"
Conclusion
This blog post showed an easy way to use Docker containers with AWS Lambda functions.
By building a Docker image with your code, you can run any programming language or tools on Lambda. Deploying is simple - just upload your container image to AWS. Give it a try to make Lambda more flexible for your apps!
References
- Deploy Python Lambda Functions with Container Image
- Packaging AWS Lambda Functions as Container Images
- Creating a Lambda Function with a Container-Based Runtime
Until next time, つづく 🎉
💡 Thank you for Reading !! 🙌🏻😁📃, see you in the next blog.🤘 Until next time 🎉
🚀 Thank you for sticking up till the end. If you have any questions/feedback regarding this blog feel free to connect with me:
♻️ LinkedIn: https://www.linkedin.com/in/rajhi-saif/
♻️ X/Twitter: https://x.com/rajhisaifeddine
The end ✌🏻
🔰 Keep Learning !! Keep Sharing !! 🔰
📅 Stay updated
Subscribe to our newsletter for more insights on AWS cloud computing and containers.
